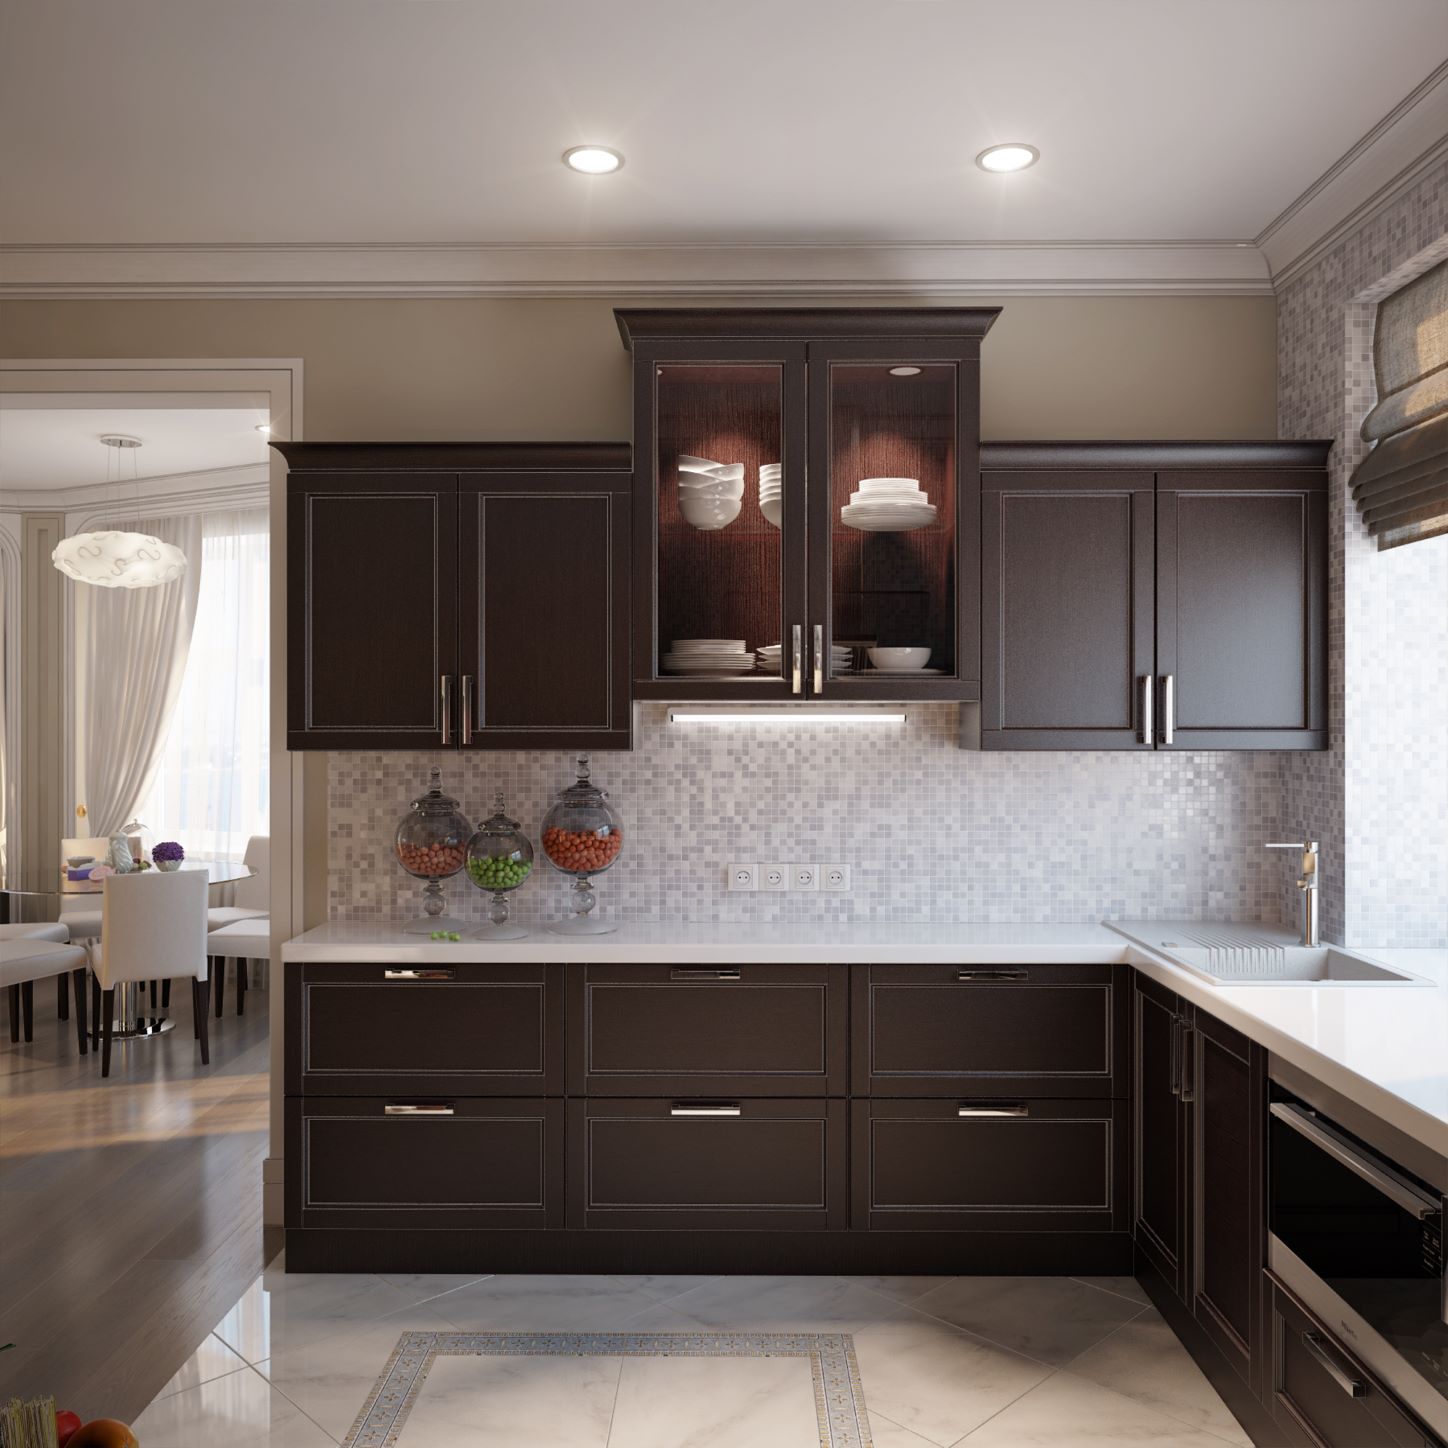
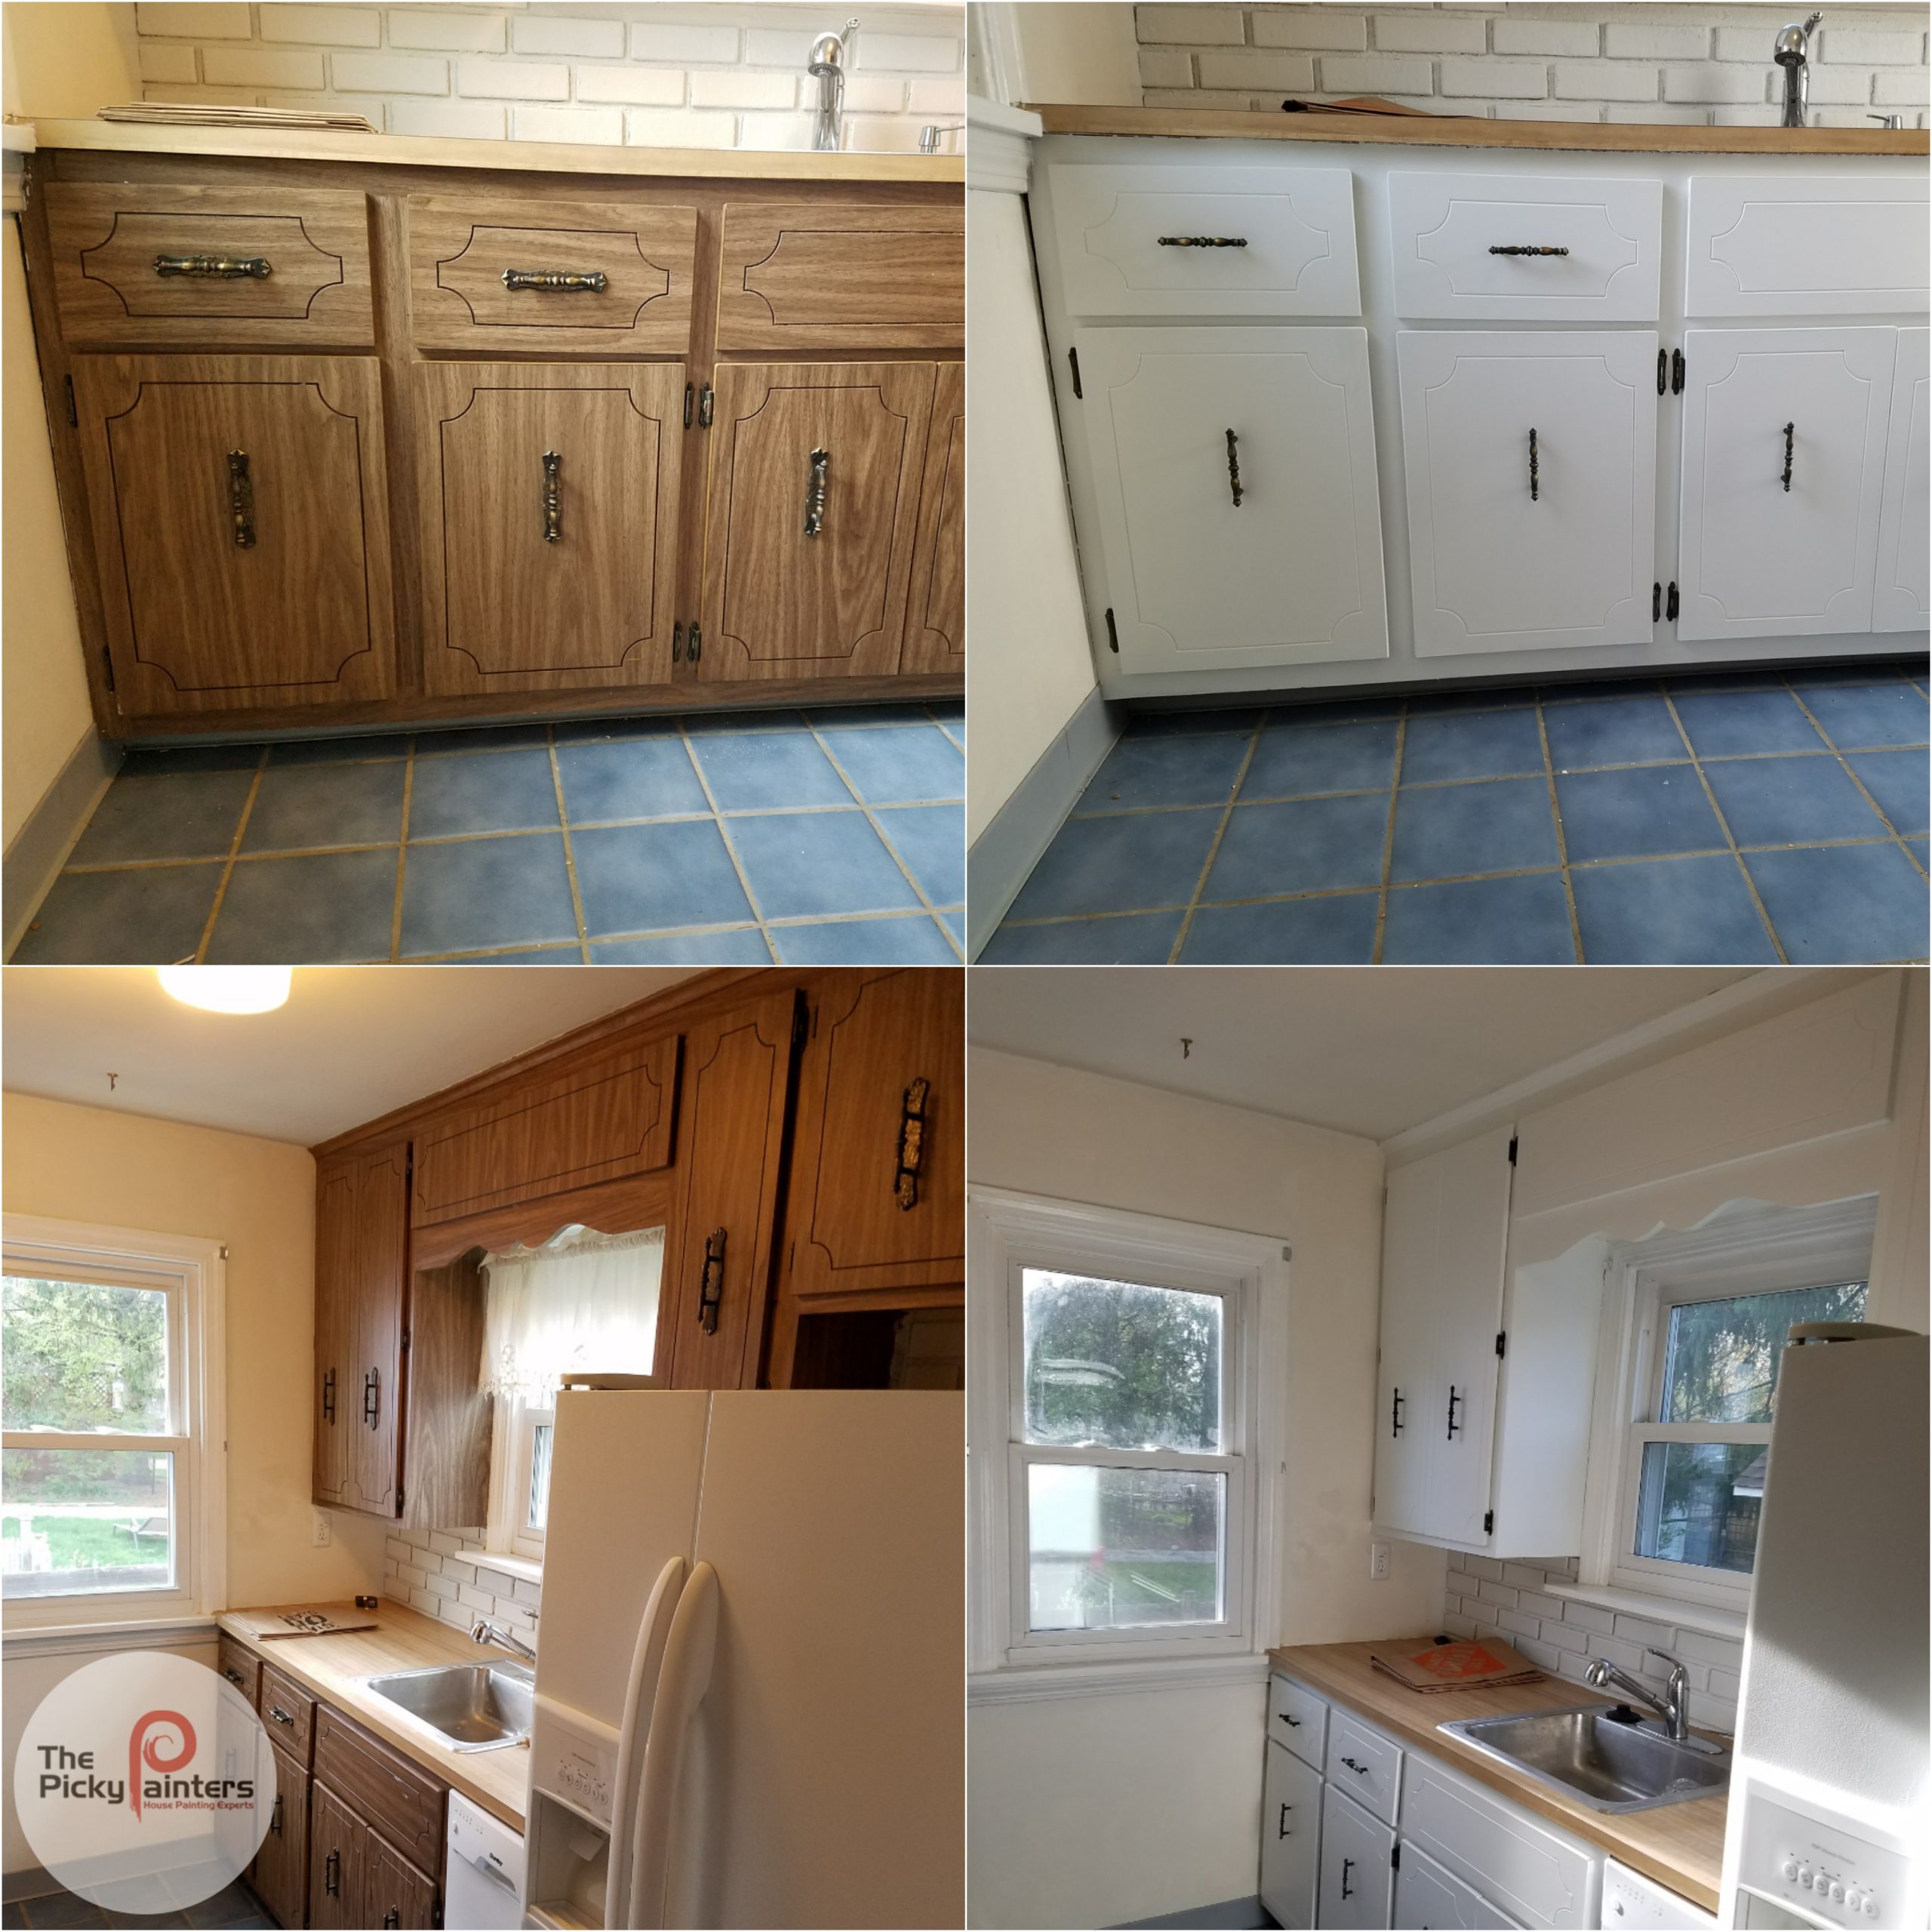
Can You Paint Laminate Cabinets? A Practical Guide: Can I Paint Laminate Cabinets

Painting laminate cabinets can totally transform your kitchen, giving it a fresh, updated look without the hefty price tag of replacing them. But it’s not as simple as slapping on some paint – laminate presents unique challenges compared to wood. This guide will walk you through the process, from prep to paint, ensuring a successful and stylish makeover.
Challenges of Painting Laminate Cabinets
Unlike wood, laminate is a non-porous surface. This means paint doesn’t adhere as easily, requiring extra preparation to ensure a durable finish. The smooth, glossy surface also makes it harder for paint to grip, leading to peeling or chipping if not properly prepped. Wood cabinets, being porous, absorb paint better, resulting in a stronger bond. The key to successfully painting laminate is creating a surface that the paint can cling to.
Preparing Laminate Cabinets for Painting
Proper preparation is crucial for a long-lasting paint job on laminate. This involves a multi-step process:
- Cleaning: Thoroughly clean the cabinets with a degreaser to remove any grease, grime, or silicone residue. Use a clean cloth or sponge, and rinse well. Allow to dry completely.
- Sanding: Lightly sand the cabinet surfaces with fine-grit sandpaper (220-grit or higher). This creates a slightly rough texture, improving paint adhesion. Focus on sanding the glossy surface to create a tooth for the primer to grip onto. Don’t overdo it; you’re not aiming to remove the laminate, just to scuff it up a bit.
- Priming: This is the most critical step. A good primer creates a bonding surface between the laminate and the paint, preventing peeling and chipping. Apply at least two coats of primer, allowing each coat to dry completely before applying the next.
Primer Selection for Laminate Cabinets
Choosing the right primer is essential. Here’s a comparison of some options:
| Primer Type | Manufacturer | Surface Compatibility | Price Range |
|---|---|---|---|
| Adhesion Primer | Kilz, Zinsser | Laminate, melamine, plastic | $15-$30 per quart |
| Oil-Based Primer | Benjamin Moore, Sherwin-Williams | Laminate, various surfaces | $20-$40 per quart |
| Acrylic-Latex Primer | Various brands | Laminate, wood, metal | $10-$25 per quart |
| Specialty Laminate Primer | Rust-Oleum, Krylon | Specifically formulated for laminate | $15-$35 per quart |
Painting Techniques for Laminate Cabinets, Can i paint laminate cabinets
Three common painting techniques offer varying results:
- Brush: Provides good control and detail, ideal for intricate cabinet details. However, it can be time-consuming and may leave brush strokes visible.
- Roller: Faster coverage than a brush, especially for large surfaces. A high-quality roller with a smooth nap will minimize visible roller marks. However, it may not reach all corners and crevices as effectively.
- Sprayer: Offers the smoothest finish and fastest application. However, it requires more setup and cleanup, and overspray can be an issue. Proper ventilation is essential when using a sprayer.
Paint Application Guide
Visualize this:
Day 1: Apply the first coat of paint. Let it dry for at least 4 hours (check the paint can for specific drying times).
Day 2: Apply the second coat of paint. Again, allow 4-6 hours of drying time. For a truly robust finish, consider a third coat after another 4-6 hours of drying time. This layering builds a protective and durable finish.
Day 3 (or later): Once completely dry (usually 24 hours after the final coat), carefully re-install cabinet doors and hardware.
Achieving a Professional Finish on Laminate Cabinets

Painting laminate cabinets can totally transform your kitchen, but getting a pro-level finish requires more than just slapping on some paint. Think of it like this: you wouldn’t use cheap ingredients for a fancy Pontianak kue lapis, right? The same principle applies here – quality materials are key to a long-lasting, stunning result.
Choosing the right paint and prepping your cabinets properly are the foundations of a successful project. Cutting corners here will show up later in peeling, chipping, or an uneven finish. We’re aiming for that smooth, flawless look that makes your neighbours say, “Wow, did you really do that yourself?”
High-Quality Paint and Supplies for Durability
Investing in high-quality paint and supplies is crucial for achieving a durable and professional finish on your laminate cabinets. Cheap paints often lack the adhesion needed to stick to laminate’s slick surface, leading to peeling and chipping. Look for paints specifically formulated for adhesion to glossy surfaces, such as those designed for use on plastics or metal. These paints often contain primers, which helps with the adhesion process and reduces the number of coats needed. Furthermore, using high-quality brushes and rollers ensures a smooth, even application, minimizing brushstrokes and creating a professional look. Think of it as the difference between using a rusty old cleaver and a razor-sharp chef’s knife – the right tools make all the difference.
Applying Multiple Coats of Paint
Applying multiple thin coats of paint is far superior to applying one or two thick coats. Thick coats are more prone to drips, runs, and uneven drying, leading to an unprofessional finish. Each coat should be allowed to dry completely before applying the next. This ensures proper adhesion and a smooth, even surface. Between coats, lightly sand the surface with fine-grit sandpaper to remove any imperfections and create a better surface for the next coat to adhere to. This sanding process also helps to prevent brushstrokes from showing through the final coat. For hard-to-reach areas, consider using a small foam brush or a detailer brush for precise application.
Paint Finishes: Matte, Satin, and Gloss
The choice of paint finish significantly impacts the final look and feel of your cabinets. Each finish has its own advantages and disadvantages:
- Matte:
- Advantages: Hides imperfections well, creates a sophisticated, modern look.
- Disadvantages: More prone to showing fingerprints and scratches, harder to clean.
- Satin:
- Advantages: Durable, easy to clean, subtle sheen adds elegance.
- Disadvantages: May show some imperfections.
- Gloss:
- Advantages: Very durable, easy to clean, high shine adds a dramatic look.
- Disadvantages: Shows every imperfection, can feel less inviting in a kitchen.
Essential Tools and Materials Checklist
Before you start, gather these essentials to ensure a smooth and successful painting project:
- High-quality paint designed for adhesion to glossy surfaces (choose your desired finish)
- Primer (especially important for laminate)
- Sandpaper (fine-grit for smoothing between coats)
- Painter’s tape
- Drop cloths or plastic sheeting
- High-quality brushes and rollers (consider using a foam roller for a smoother finish)
- Paint tray and liner
- Putty knife for filling imperfections
- Tack cloth for removing dust
- Cleaning supplies (rags, soap, water)
Alternative Solutions and Considerations

So, you’re thinking about painting your laminate cabinets, eh? That’s ambitious! But before you grab that paintbrush, let’s weigh your options and consider potential pitfalls. Sometimes, there are better ways to achieve that dream kitchen than a weekend warrior paint job.
Refacing versus painting – it’s a classic kitchen dilemma. Both offer a fresh look, but the approach and outcome differ significantly. Let’s break it down.
Cabinet Refacing: A Detailed Overview
Refacing involves replacing the cabinet doors and drawer fronts with new ones, often made of wood veneer or solid wood. You also get new hardware. The cabinet boxes themselves remain untouched, saving you time and money compared to a full replacement. This method provides a more durable and upscale finish than painting laminate. However, it’s a more expensive upfront investment. Think of it like giving your cabinets a stylish new outfit instead of a quick makeover.
Potential Problems When Painting Laminate Cabinets and Their Solutions
Painting laminate presents unique challenges. The smooth, non-porous surface of laminate doesn’t readily accept paint, leading to peeling or chipping. Proper preparation is crucial. Failing to adequately clean the surface, for instance, can result in a paint job that looks blotchy and unprofessional. To avoid this, use a deglosser and a high-quality primer specifically designed for laminate surfaces. Another common issue is poor adhesion, which can be solved by using a bonding primer and applying thin, even coats of paint. Finally, remember that laminate can expand and contract with temperature changes, which can cause the paint to crack. To minimize this, select a flexible paint designed to handle these movements.
Cost Comparison: Painting vs. Refacing
The following table compares the costs of painting versus refacing laminate cabinets, considering materials, labor, and time. These figures are estimates and can vary depending on the size of your kitchen, the quality of materials, and your location. Remember, DIY projects can significantly reduce labor costs, but might increase your time investment.
| Painting | Refacing | |
|---|---|---|
| Materials | $100 – $300 (depending on paint quality and quantity) | $1,000 – $3,000 (depending on door style and material) |
| Labor | $0 – $500 (DIY vs. professional) | $1,000 – $3,000 (professional installation typically required) |
| Time Investment | 1-3 days (DIY) or 1-2 days (professional) | 1-2 weeks (professional installation) |
