Preparing Cabinets for Painting: What Grit Sandpaper For Painting Cabinets

Proper cabinet preparation is paramount for a professional-looking, long-lasting paint job. Skipping steps or using inappropriate techniques can lead to peeling, chipping, and an overall unsatisfactory finish. This guide details a meticulous approach, emphasizing the crucial role of sanding at each stage. The quality of your surface preparation directly correlates to the quality of your final paint application.
Cabinet Surface Cleaning and Initial Sanding
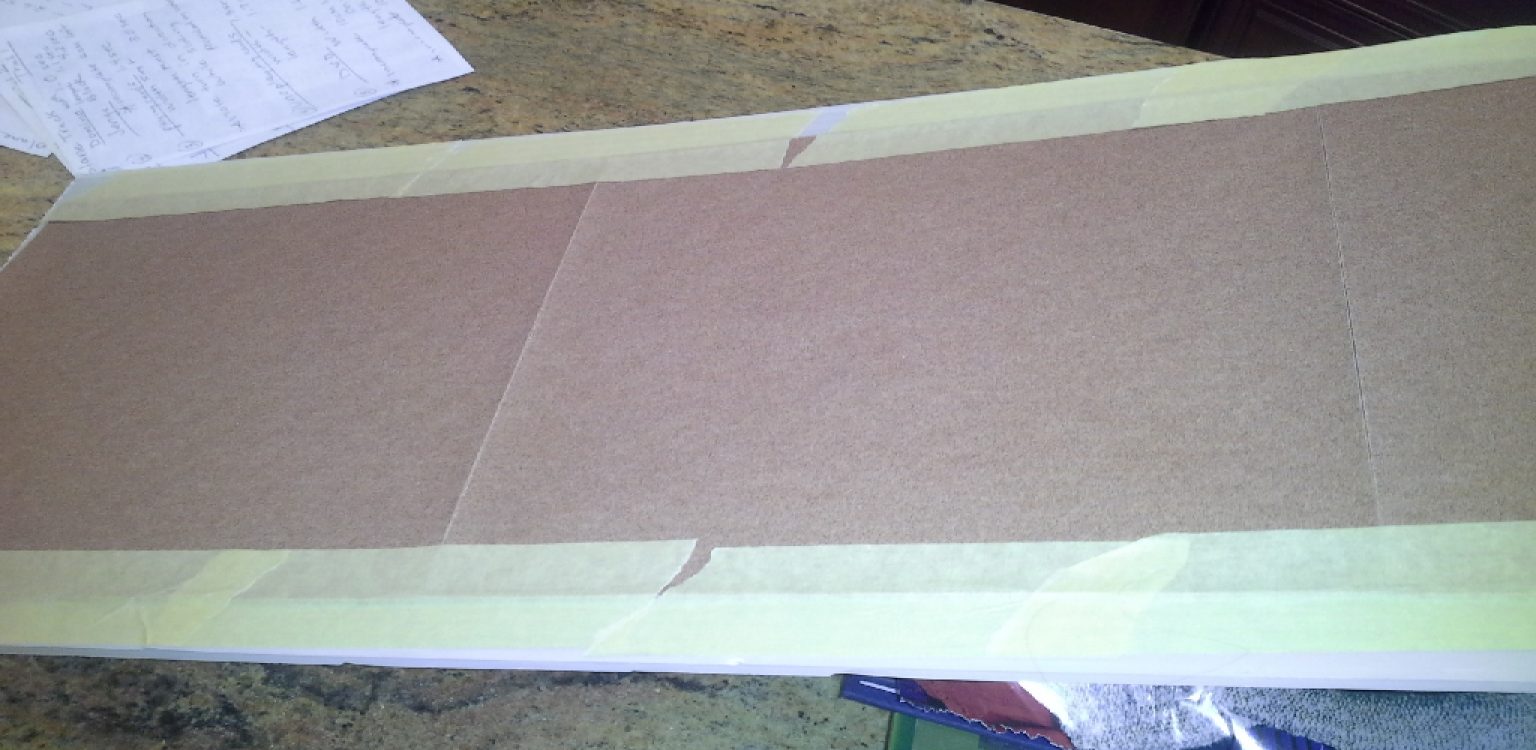
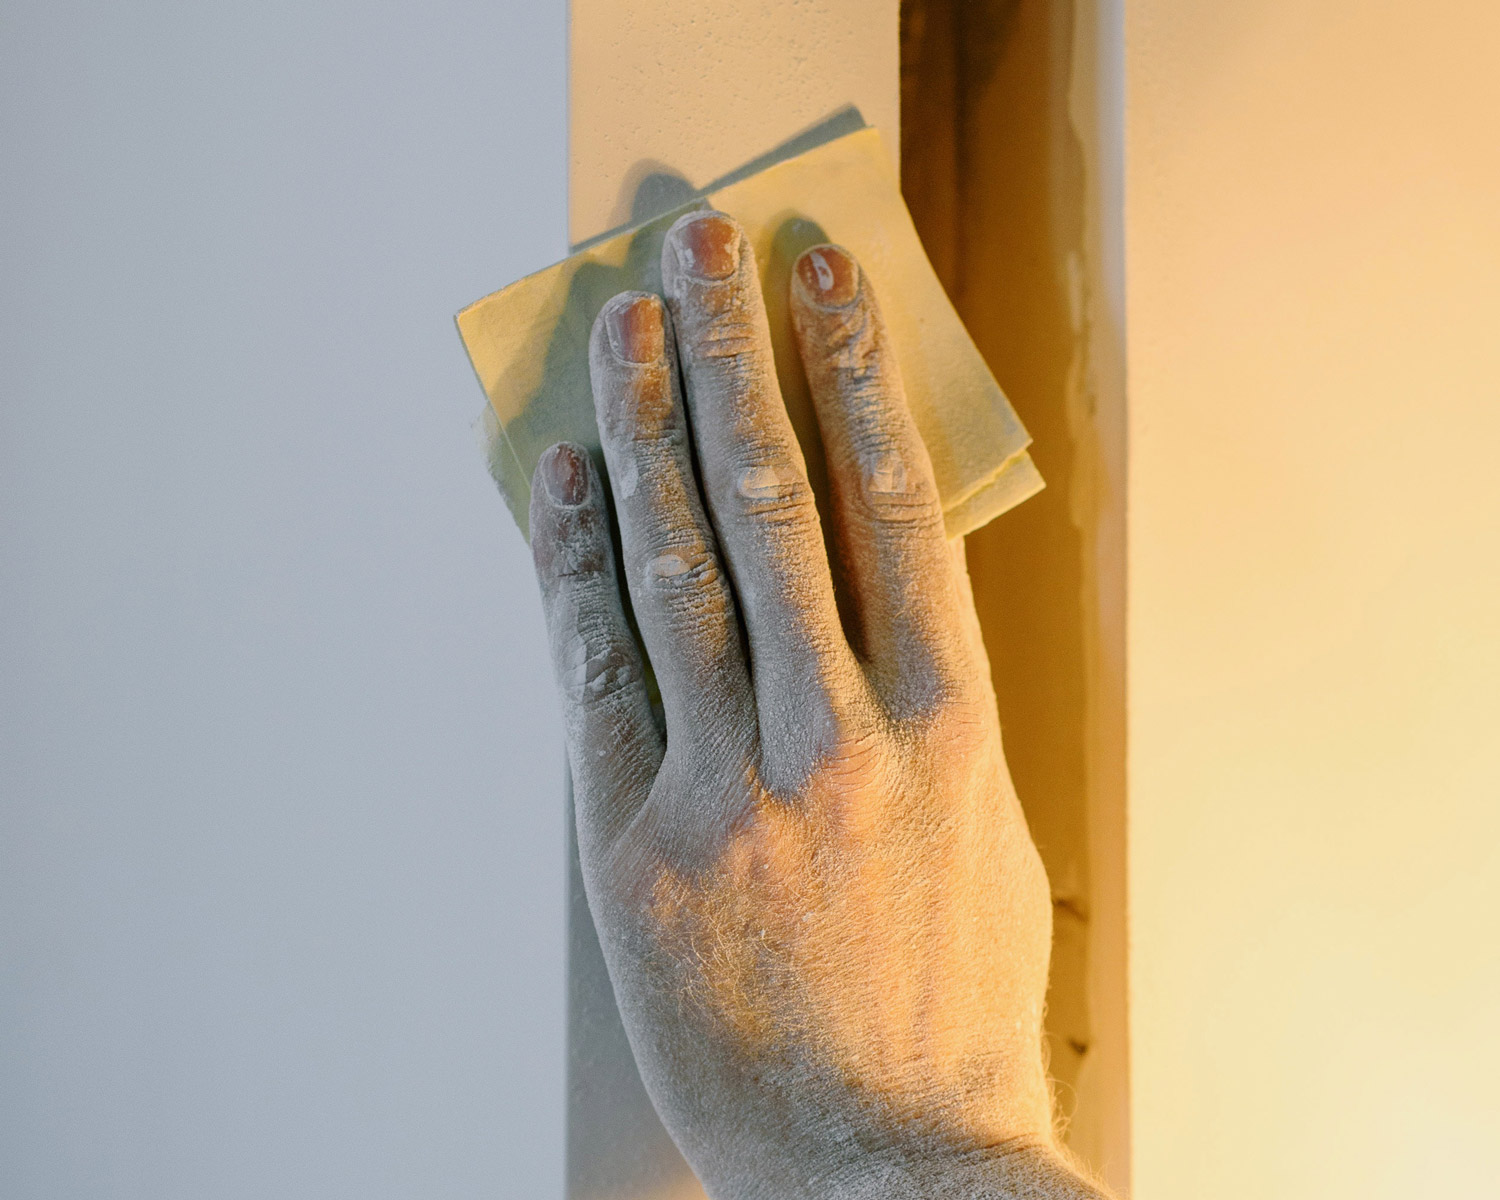
Thorough cleaning is the first critical step. Remove all grease, grime, and old finishes. A degreasing agent followed by a thorough rinsing and drying is recommended. Once dry, a light sanding with 120-grit sandpaper will help to create a slightly rough surface, improving paint adhesion. This initial sanding removes any minor imperfections and helps to remove any remaining residue. This step is crucial for all cabinet materials – wood, veneer, and MDF. Focus on even pressure and consistent strokes to avoid scratching or gouging the surface.
- Clean cabinets thoroughly with a degreaser and rinse with clean water.
- Allow cabinets to dry completely.
- Sand with 120-grit sandpaper, using even strokes.
Smoothing Imperfections and Filling Gaps
After cleaning, inspect the cabinets for any imperfections such as dents, scratches, or gaps. Use wood filler to fill any gaps or holes, allowing it to dry completely according to the manufacturer’s instructions. Once dry, sand the filled areas smooth using progressively finer grits of sandpaper, starting with 150-grit, then moving to 180-grit, and finally 220-grit. This gradual progression ensures a seamless blend with the existing surface. For veneer, exercise extreme caution to avoid sanding through the thin layer.
- Fill imperfections with appropriate wood filler.
- Allow filler to dry completely.
- Sand filled areas with 150-grit sandpaper.
- Sand with 180-grit sandpaper.
- Finish sanding with 220-grit sandpaper.
Final Sanding and Preparation for Painting
The final sanding step is crucial for achieving a perfectly smooth surface ready for paint. Using 220-grit sandpaper, lightly sand the entire cabinet surface. This removes any remaining dust particles and ensures a uniform texture. For MDF, be particularly careful to avoid excessive sanding, which can create a dusty surface. After sanding, thoroughly wipe down the cabinets with a tack cloth to remove all dust particles. This prevents imperfections from showing through the final paint layer. This is applicable to all cabinet materials.
- Sand the entire surface with 220-grit sandpaper.
- Wipe down cabinets with a tack cloth to remove dust.
Sanding Different Cabinet Materials
The type of cabinet material influences the sanding process. Wood requires a gentler approach than MDF, which is more prone to scratching. Veneer is extremely delicate and requires the utmost care to avoid sanding through the thin surface layer. For solid wood, you may need to use a coarser grit initially (e.g., 80-grit) to remove significant imperfections, but always finish with finer grits. MDF tends to require less aggressive sanding, focusing on even pressure to avoid creating a dusty surface. Veneer should only be sanded with very fine grits (220-grit or higher) and with minimal pressure. Always test your sanding technique on an inconspicuous area first.
Troubleshooting Common Cabinet Painting Issues

Proper sanding is paramount to achieving a professional-looking painted finish on cabinets. Overlooking this crucial step frequently leads to a range of problems that can compromise both the aesthetics and durability of the final product. Understanding these common issues and how to rectify them is key to a successful cabinet painting project.
Sanding problems manifest in several ways, ultimately affecting the final painted surface. The consequences of improper sanding techniques and grit selection are often visually apparent, impacting the longevity and quality of the paint job. Addressing these issues effectively requires a methodical approach, employing appropriate sanding techniques and grit selection to correct mistakes and achieve a flawless finish.
Effects of Improper Sanding
Using the wrong grit sandpaper can result in several undesirable outcomes. Too coarse a grit (e.g., 40-60 grit) will leave deep scratches in the cabinet surface, visible even after multiple coats of paint. These scratches will not only detract from the appearance but also create weak points where the paint is more likely to chip or peel. Conversely, using too fine a grit (e.g., 320 grit or higher) on previously un-sanded surfaces may not adequately prepare the wood for paint adhesion, leading to peeling or flaking. An uneven sanding job will result in an uneven paint application, with some areas appearing thicker or thinner than others. This unevenness will highlight imperfections and compromise the overall finish. Poor paint adhesion is another common result of improper sanding. If the surface isn’t properly prepared, the paint will not bond correctly, leading to peeling, chipping, and a generally unsatisfactory finish.
Correcting Uneven Surfaces, What grit sandpaper for painting cabinets
Addressing uneven surfaces requires a multi-step process. First, carefully assess the extent of the unevenness. Minor imperfections can often be corrected with a finer grit sandpaper (e.g., 180-220 grit) using light, even strokes. For more significant unevenness, a coarser grit (e.g., 120 grit) may be necessary initially, followed by progressively finer grits to smooth the surface. The goal is to create a consistently smooth surface before applying any paint. An image depicting this process would show a cabinet door with visible unevenness, followed by a series of images showing the progressive smoothing with different grits, ending with a uniformly smooth surface. The image caption would note the grit used at each stage and the direction of sanding strokes (e.g., “120 grit, sanding with the grain,” “180 grit, sanding with the grain,” “220 grit, sanding with the grain”).
Correcting Paint Buildup
Paint buildup often occurs in areas where the paint has been applied too thickly. This can be addressed by carefully sanding down the raised areas using a fine-grit sandpaper (e.g., 220-320 grit). The goal is to smooth the surface without removing too much paint. This requires a light touch and patience. An image illustrating this correction would show a cabinet door with noticeable paint buildup in certain areas. A subsequent image would depict the same door after carefully sanding the buildup, resulting in a smooth, even surface ready for a final coat of paint. The caption would specify: “220 grit sandpaper used to carefully level paint buildup, avoiding sanding through the paint to the underlying surface.”
Correcting Sanding Scratches
Deep sanding scratches are more challenging to correct. If the scratches are minor, a fine-grit sandpaper (e.g., 320 grit) and a light touch may suffice. For deeper scratches, applying a wood filler may be necessary before sanding again with progressively finer grits to achieve a smooth surface. The wood filler should be allowed to dry completely before sanding. An image showing this process would first depict a cabinet door with visible scratches. A second image would show the application of wood filler to the scratches. A third image would show the sanded and smooth surface after the filler has dried and been sanded down with progressively finer grits. The caption would detail the grits used at each stage and emphasize the importance of allowing the filler to dry completely before sanding.
